
Custom Die-Cut Stickers w/bleed
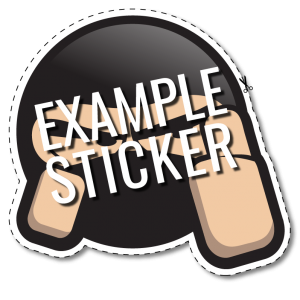
When designing custom die-cut stickers another option is to have the artwork cut to the edge, by using a process called ‘bleed’ thus eliminating trim around the sticker. To achieve this you need to extend the colour of the art 3mm-5mm past the edge of the original art. The original edge of the artwork will be your area to provide a cut path where we will create our die. It is always important to supply this path on a layer set ‘infront’ of all layers. The Ninja can assist you with design if you are unable to do this. Please email [email protected] if you require assistance with your design.