
Uncategorized
Which Labels Work on Bottles? Choose the Right Label
27
Jul
Jul
A bottle label can look spot-on when it leaves the printer, then start lifting at the corners after one trip through an ice bucket. That is why asking which labels work on bottles is the right question before you order. The best label is not simply the glossiest or cheapest option. It needs to suit the bottle surface, what is inside it, where it will be stored and how customers will handle it.
For wine, sauces, skincare, cold brew, candles, cleaning products and event favours, the goal is the same: a label that looks professional and stays that way. Here is how to choose without getting buried in print jargon.
Start with the bottle’s real-world conditions
Bottles live tough lives. They might be refrigerated, covered in condensation, handled with oily hands, knocked about in a courier box or stored in a hot garage. A label that works perfectly on a dry glass bottle at room temperature may not survive any of that.
Think through the full journey before choosing your stock. Is the bottle filled cold or applied after filling? Will it sit in a fridge, freezer or ice bucket? Does it hold an oil-based product, alcohol, cleaning chemicals or anything that could run down the outside? Will customers reuse the bottle, or is it a one-off product for an event?
There is no single magic material for every bottle. The right answer depends on the job, and that small bit of planning can save you from peeling edges, wrinkled paper and a product that looks less premium than it is.
Which labels work on bottles made from glass?
Glass is smooth, non-porous and brilliant for label application – provided it is clean, dry and at the right temperature. Standard paper labels can look excellent on dry glass bottles used indoors, such as wine bottles, cordial bottles, candle jars or wedding favours. They offer a classic, tactile finish that suits handcrafted and boutique branding.
The trade-off is moisture. Paper labels do not love condensation, splashes or frequent fridge time. If your bottle will be chilled, displayed in ice or used in the shower, a synthetic waterproof label is the smarter call. It holds its shape and colour far better when water is part of the deal.
For clear glass bottles, clear labels are also a strong option. They can give the artwork a printed-directly-on-the-bottle look, especially when the design has enough contrast. Keep in mind that clear labels are not invisible. On a dark liquid or coloured bottle, every element of the artwork changes visually because the product beneath becomes part of the background.
Plastic bottles need a stronger adhesive choice
Plastic is not one material. PET, HDPE, polypropylene and other plastics can behave differently, especially when the bottle has a textured, flexible or low-energy surface. A label may adhere beautifully to one plastic bottle and struggle on another that feels almost identical.
Smooth PET bottles, common for beverages and personal care products, are generally straightforward. Waterproof vinyl or synthetic labels are a reliable fit for products exposed to water, oil or regular handling. They are also a good choice for sports drink bottles, shampoo, body wash and reusable drink bottles.
Squeezable bottles add another layer. If the bottle flexes every time someone uses it, a rigid paper label can crease or lift over time. A flexible film label is usually the better match. It moves more naturally with the bottle and gives the finished product a cleaner look.
If your bottle is recycled, heavily textured or made from an unusual plastic, run a small test before committing to a large print run. That is not being fussy. It is smart production. Surface treatments, mould-release residues and bottle texture can all affect adhesion.
Choose waterproof labels for cold, wet or messy products
Waterproof labels earn their keep when bottles will face condensation, splashes, oil or weather. They suit cold brew, juice, beer, kombucha, sauces, bath products, cleaning sprays and products sold at markets where conditions are not always controlled.
Vinyl labels are a popular choice because they are durable, flexible and visually sharp. They handle moisture well and are built for more demanding applications than a standard paper stock. For businesses that want labels to survive the fridge, the ute, the gym bag or a busy café bench, waterproof is usually where you want to be.
That said, waterproof does not mean indestructible in every chemical environment. Harsh solvents, continual abrasion and certain oils can affect both ink and adhesive over time. If your product contains essential oils, strong alcohols or cleaning chemicals, test the label on a filled bottle and leave it for a few days. Check for lifting, staining, wrinkling or fading before placing the full order.
Paper labels still have their place
Paper labels are not the wrong choice. They are the right choice when their look and feel suit the product and the bottle will stay dry. A beautifully printed paper label can give wine, pantry goods, candle jars and artisan products warmth that a glossy synthetic finish may not deliver.
They are also a practical pick for short-run event bottles, corporate gifts and products designed for indoor shelves. A matte finish can feel refined and understated, while gloss gives colours extra pop. If your labels are purely decorative and the bottles are not going near water, paper can be excellent value.
Just be honest about the environment. A paper label on a bottle that spends all summer in an ice bucket is asking for trouble. Match the material to the use, not just the mood board.
Get the bottle shape and label size right
Even the best material can look off if the label does not suit the bottle shape. Straight-sided bottles are the easiest because a rectangular label wraps evenly. Tapered bottles are trickier. If a label is too wide on a tapered surface, it can wrinkle, overlap or lift at the ends.
Measure the straightest usable area of the bottle rather than the widest point. Leave some breathing room around curves, seams, ridges and shoulders. For a wraparound label, measure the circumference where the label will sit, then allow a small gap between the two ends unless you specifically want overlap.
Front-and-back labels are often the cleanest solution for strongly tapered bottles. You get a strong branding panel on the front, room for ingredients or instructions on the back, and no fight with the curve.
Shape matters for branding too. A die cut label can follow a logo, badge or custom silhouette, making a simple bottle feel more considered. A rectangle is efficient and classic. A circle works brilliantly for lids, neck labels and small product marks. There is no need to overcomplicate it, but the shape should help customers recognise the product at a glance.
Design for the bottle, not just the screen
A bottle is a moving, reflective surface, not a flat webpage. Fine text can become hard to read around a curve. Light colours can disappear against clear glass or pale contents. Glossy bottles can throw glare across a subtle design.
Keep the key information large and high contrast. Your brand name, product name and flavour or variant should be readable from arm’s length. Save the small print for ingredients, directions or legal details. If you are using a clear label, consider white ink or a solid colour panel behind important artwork so it does not get lost against the bottle contents.
Also leave a sensible margin around the edge of the label. Artwork pushed right to the trim can look cramped, and small shifts in application become far more obvious. A clean border gives the design room to breathe and makes hand application more forgiving.
Application matters more than most people think
A quality label needs a quality application surface. Bottles should be clean, dry and free from dust, oil and condensation. Apply labels at room temperature where possible. Very cold bottles can cause issues because moisture forms as they warm up, which can compromise the adhesive before it has time to settle.
For small batches, apply each label slowly from the centre outwards, smoothing as you go to avoid bubbles. For larger runs, consistency matters. Use a simple placement guide or jig so every label sits at the same height and faces the same direction. It is a small production detail customers notice straight away.
Give labels time to bond before putting bottles into refrigeration, shipping cartons or heavy handling. Rushing from application to ice bucket is how a good label gets judged unfairly.
A fast way to choose your bottle label
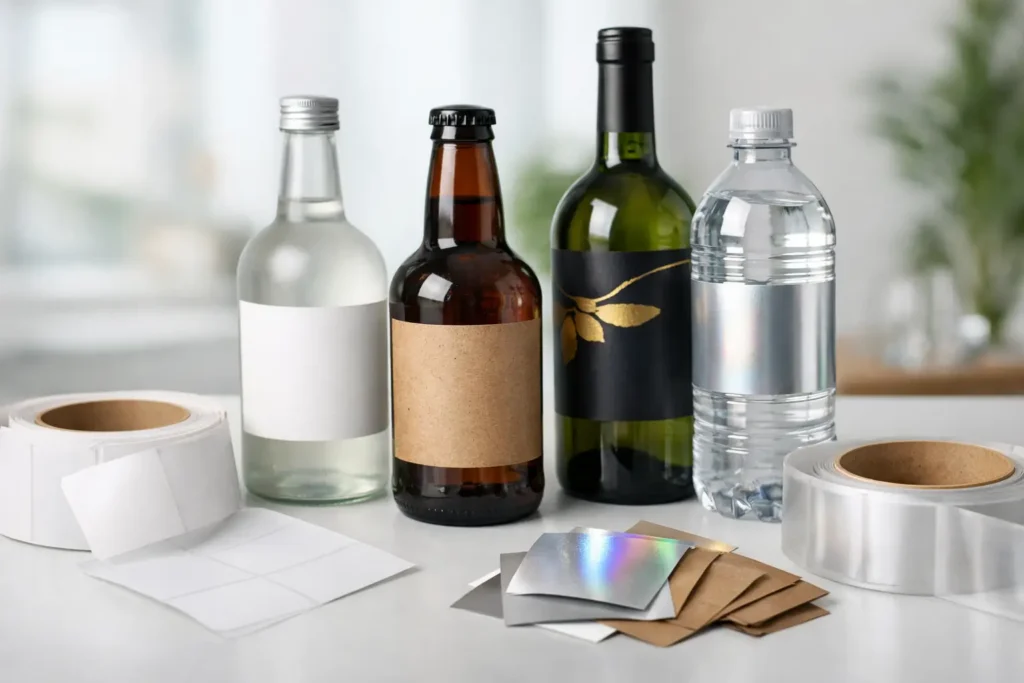
If your bottle stays dry and you want a premium handmade feel, paper labels are a strong option. If it will be chilled, wet, oily or handled hard, choose a waterproof synthetic or vinyl label. If the bottle is clear and the product itself looks good, clear labels can create a polished no-label look. For squeezable plastic, flexible film is usually the safe bet.
Still unsure? Order for the conditions your customers will actually put the bottle through, not the conditions on your packing bench. Sticker Ninja can help turn that practical choice into a sharp, Australian-made label that earns its spot on the shelf. Get the material right first, and your bottle has a far better chance of looking brilliant long after it leaves your hands.