
Uncategorized
How to Print Window Decals That Last
25
Jun
Jun
A window decal can make a shopfront look sorted in five minutes – or make it look cheap just as fast. The difference usually comes down to three things: the file, the material, and whether you’re printing for the inside or outside of the glass. If you’re figuring out how to print window decals for a business, event, car, or short-term promo, getting those basics right will save you money and spare you the classic reprint headache.
Start with the job, not the printer
Before you think about inks, finishes, or fancy effects, be clear on what the decal actually needs to do. A real estate office might want bold, readable branding across a front window. A cafe could need trading hours that survive daily sun. An event organiser may only need a clean, temporary decal for a weekend activation.
That matters because there’s no single best way to print window decals. Some need to be removable. Some need to hold up outdoors for months or years. Some are viewed from outside but applied inside the glass for extra protection. Others need clear stock so the design feels less bulky on the window. Good print starts with the use case, not guesswork.
Choose the right material for window decals
Material is where most people either nail the job or botch it. If you choose the wrong stock, even a great-looking design can bubble, peel, go dull in the sun, or just feel off.
Vinyl is the usual go-to for window decals because it handles weather better than paper-based options and gives you a cleaner, more professional finish. Within that, you’ve got a few different paths. Clear vinyl works well when you want the glass to stay visible and the design to appear more subtle. White vinyl gives stronger opacity and better contrast, which is handy if your artwork includes light colours or fine detail. Removable adhesive is useful for short campaigns, pop-up events, and seasonal promos. Permanent adhesive makes more sense when the decal needs to stay put long term.
Then there’s the inside-glass versus outside-glass question. If you’re applying the decal on the inside of a window so it faces out, the artwork needs to be printed in reverse. Miss that detail and the text will read backwards from the street, which is a rough way to start the day.
How to set up artwork for printing
If you want to know how to print window decals properly, artwork setup is where the quality gets won or lost. A decent printer can help fix minor issues, but no one can magically rescue a blurry logo pulled from a screenshot.
Your file should be high resolution, with sharp logos, readable text, and correct dimensions at final size. Vector files are ideal for logos and lettering because they scale cleanly. If you’re using images, make sure they’re high enough quality for print. Tiny web graphics might look fine on a laptop, but once they’re blown up for a window they can turn soft and pixelated.
Colour also needs a bit of thought. Glass changes how a design looks because light passes through it and reflections compete with the print. Dark text on clear material can get lost if the background behind the glass is busy. White ink can be a game changer here, especially for clear decals, because it helps colours stay solid and readable rather than washed out.
If your design is being contour cut, the cut line needs to be clean and intentional. That’s especially important for die cut window decals where the shape is part of the look. A rough edge or awkward border can make a premium design feel second-rate.
Printing methods that work for window decals
There isn’t just one machine or process behind window decal printing. The best option depends on quantity, detail, durability, and finish.
Digital printing is the most common choice for custom window decals because it handles full-colour artwork well, suits short to medium runs, and gives businesses flexibility with names, promotions, or location-specific messaging. It’s fast, cost-effective, and ideal when you need clean branding without overcomplicating the order.
For decals that will live in the sun, weather resistance matters. That usually means using durable inks and, in many cases, adding a laminate for extra protection against scratching, moisture, and fading. Lamination is not always essential, especially for short-term indoor-facing applications, but for outdoor use it can be the difference between a decal that stays crisp and one that starts looking tired too early.
White ink printing is worth mentioning again because it’s a major factor in clear window decals. Without it, some colours can look translucent and weaker than expected. With it, artwork has more punch. It does add complexity, though, so you want a printer who understands how to set it up properly.
Size, readability, and placement matter more than people think
A beautiful decal that no one can read from the footpath is not doing much heavy lifting. Window decals need to be designed for real viewing distance, not just for what looks nice on screen.
If the decal is for shop branding, your business name, offer, or opening hours should be readable quickly. That usually means fewer words, stronger contrast, and enough spacing around the text. Fine script fonts might look classy in a mock-up but can disappear completely once sunlight, glare, and street traffic get involved.
Placement matters too. Think about eye level, doors that open across the artwork, and what sits behind the glass. A clear decal over a cluttered interior can lose impact. In some cases, using solid white backing or choosing white vinyl instead of clear gives a stronger result, even if clear sounded better at first.
Application can make or break the final look
You can print the perfect decal and still end up with a dodgy finish if it’s applied badly. Dust, fingerprints, crooked alignment, and trapped bubbles are the usual culprits.
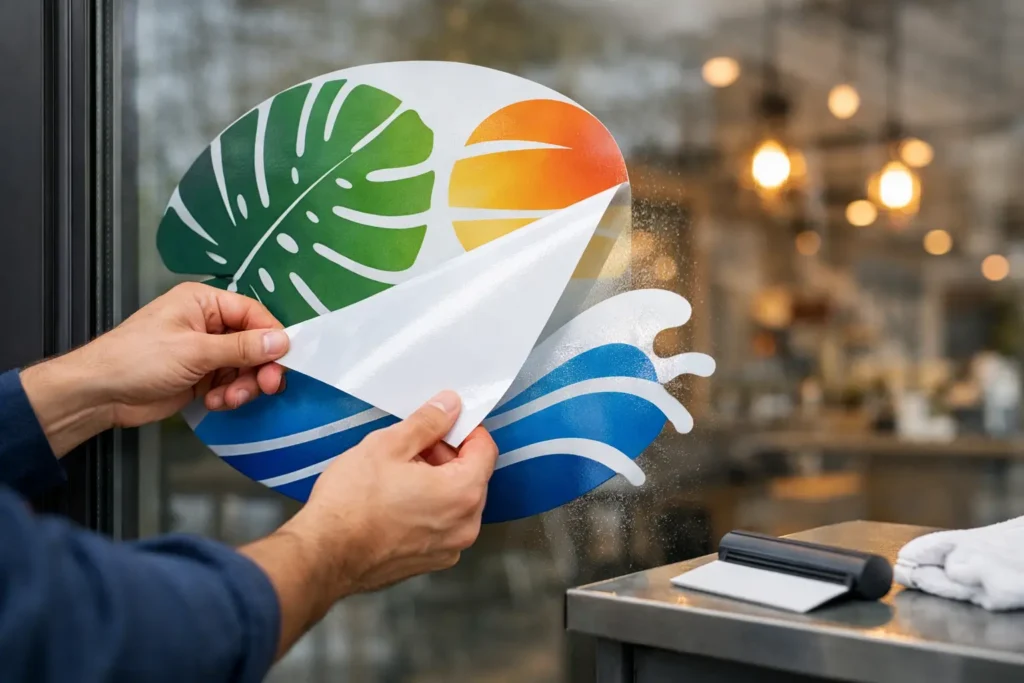
The window needs to be properly cleaned before application. Not “gave it a quick wipe” clean – actually clean, with grease, dust, and residue removed. Even tiny bits of grit can show through the vinyl and ruin the smooth finish.
For smaller decals, dry application often works fine. For larger pieces, especially wide window graphics, a careful wet application method can help with positioning and reduce bubbles. It depends on the material and adhesive, though, so you want to follow the print supplier’s guidance rather than wing it. Some films are more forgiving than others.
If you’re installing multiple decals across a shopfront, consistency matters. Uneven spacing or slightly different heights can make the whole fitout look amateur. That’s one reason many businesses prefer working with a specialist supplier rather than treating custom decals like a throwaway office print job.
Common mistakes when printing window decals
Most problems are predictable. People order clear decals without thinking about contrast. They send low-res files and expect razor-sharp print. They forget to reverse the artwork for inside-glass application. Or they choose the cheapest stock possible for a window that gets hammered by sun all afternoon.
Another common mistake is overdesigning. Window decals are not brochures. If you cram in too much text, too many logos, or tiny details, the message gets muddy. A clean decal with one strong purpose nearly always performs better than a busy one trying to say everything at once.
Short deadlines can cause trouble too. Fast turnaround is great, but rushing artwork approval often leads to simple errors that are expensive to fix later. If your print partner sends a proof, check it properly. Orientation, sizing, spelling, and cut shape all deserve a proper look.
When to use a specialist printer
If you only need a basic temporary decal for a one-off use, a simple print solution may be enough. But if the decal represents your business, sits on a shopfront, goes on a vehicle window, or needs to last outdoors, specialist print is usually the smarter move.
That’s because window decals sit in a slightly tricky category. They need to look sharp, handle light well, suit glass, and often balance visibility with durability. A general printer might be able to produce something passable. A sticker-focused printer is more likely to ask the right questions before the job goes live.
That support matters, especially if it’s your first time ordering. Clear advice on material, proofing, sizing, and print direction can save a lot of back-and-forth. At Sticker Ninja, that practical support is part of the job – because no one wants to find out their window text is backwards after installation.
How to print window decals with fewer headaches
The simplest answer is this: know where the decal is going, choose vinyl that suits the job, send proper artwork, and don’t ignore application. If you need clear decals, think hard about readability and white ink. If you need inside-glass fitting, reverse the file. If you need outdoor life, don’t skimp on durability.
Window decals do not need to be complicated, but they do need to be considered. Get the basics right and they’ll look sharp, work hard, and hold up. Get them wrong and the glass tells on you straight away.
If you’re ordering for a business, treat the decal like part of your brand, not an afterthought. The people walking past your window already are.