
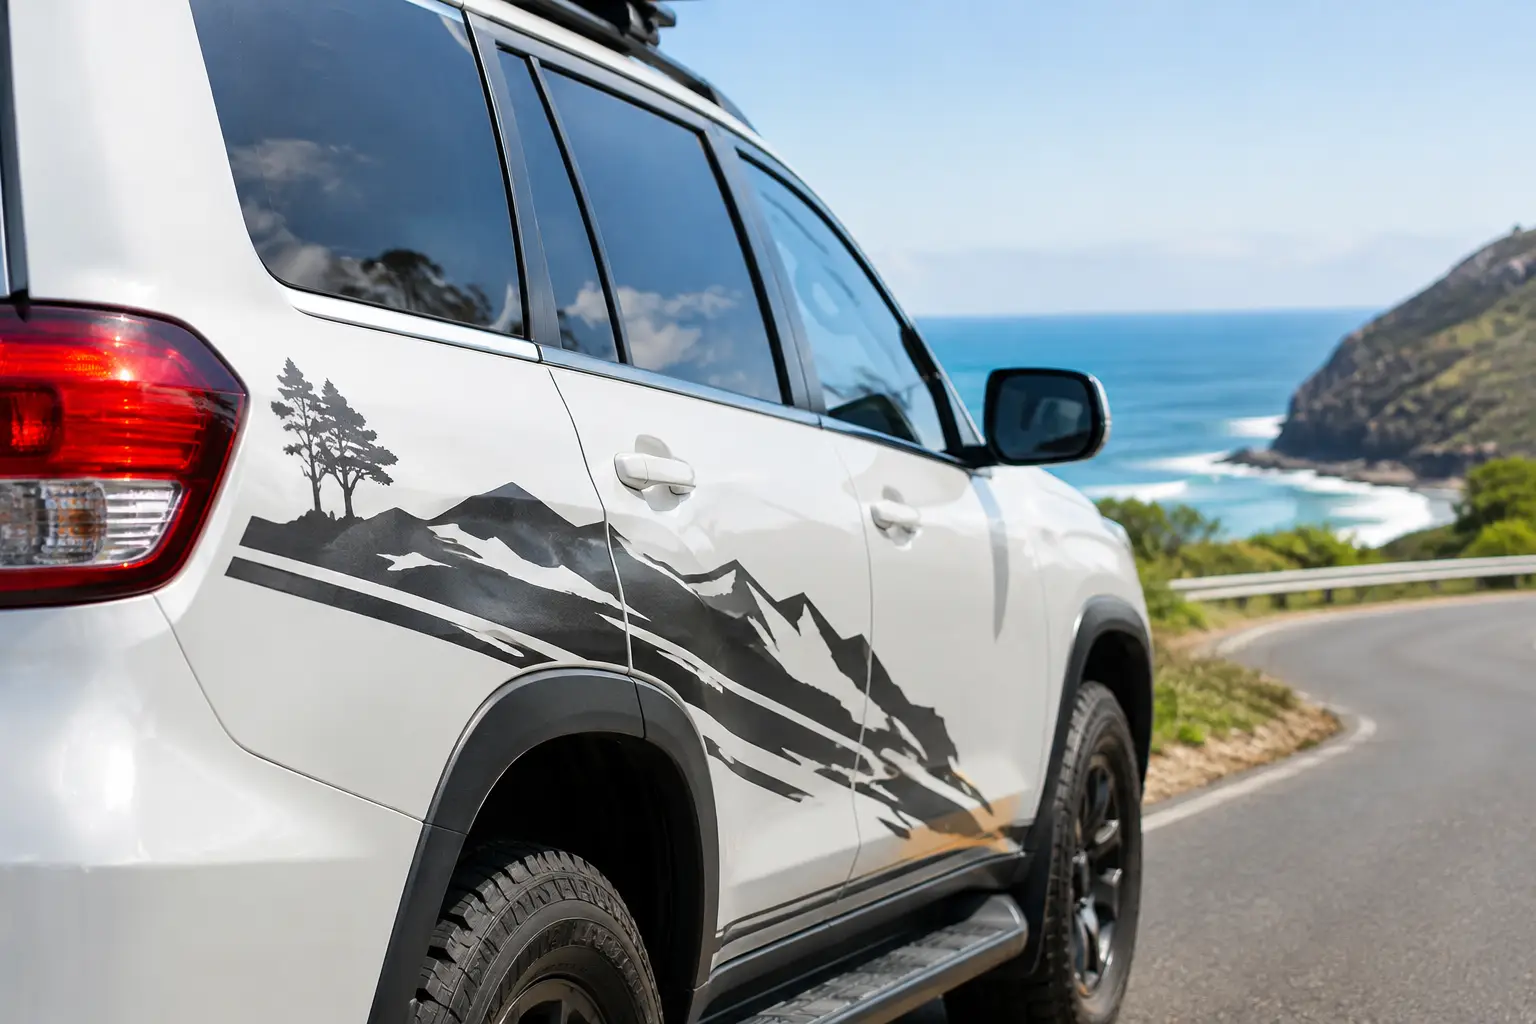
A decal that looks mint on day one but fades, lifts or cracks six months later is not doing its job. This vehicle decal durability guide breaks down what actually keeps vehicle graphics looking sharp through Australian sun, rain, road grime, car washes and the daily punishment of work sites.
Whether you are branding a ute fleet, adding real estate signage to a car, promoting a club, or fitting out a single van for your business, durability starts well before the decal touches the panel. Material choice matters. So does surface prep, artwork, placement and how the vehicle is treated once it is on the road.
What Makes Vehicle Decals Last?
There is no single magic lifespan for every decal. A vehicle parked under cover, washed gently and used around town will have an easier life than a tradie ute parked outside every day, tackling highways, dust, salt air and harsh summer UV.
The biggest factors are the vinyl quality, the adhesive, the ink system, whether the print is laminated, and how well the decal suits the surface it is being applied to. A premium outdoor vinyl decal with a protective laminate is built for a very different job than a short-term promotional sticker.
For business vehicles, it pays to think beyond the upfront price. Replacing faded or peeling graphics early costs time, creates an inconsistent look across your fleet and can make an otherwise professional business appear a bit rough around the edges.
Sun Is the Main Event
Australia is tough on printed graphics. UV exposure slowly breaks down inks and materials, especially on horizontal surfaces such as bonnets, roofs and toolboxes. Dark colours can also absorb more heat, which adds stress to both the vinyl and adhesive.
Lamination provides a clear protective layer over printed decals. It helps shield the print from UV, scratches, minor scuffs and cleaning chemicals. For decals expected to stay on a vehicle for years, not weeks, laminated vinyl is generally the smart call.
That does not mean every job needs the same level of protection. A short-run event decal or temporary campaign graphic may be fine without a heavy-duty finish. The right option depends on how long it needs to perform and where it will live.
Adhesive Has to Match the Job
A decal can have brilliant print quality and still fail if the adhesive is wrong for the surface. Vehicle panels are usually smooth and painted, but they are not all equal. Fresh paint, textured plastics, powder-coated toolboxes, curved bumpers and low-energy plastic surfaces can all affect adhesion.
Permanent adhesive is the usual choice for long-term vehicle branding. It is designed to stay put through weather and regular washing. Removable adhesive suits short-term promotions and situations where clean removal matters, but it is not the best pick for a decal that needs to survive years of road use.
If you are applying graphics to a canopy, trailer, boat, dirt bike or machinery, mention it when ordering. The surface and use case can change the best material recommendation.
Vehicle Decal Durability Guide: Choose the Right Format
The best format is the one that suits both the design and the environment. A large, simple logo on a white van has different needs to detailed service information on a rear window or a small safety message on equipment.
Die cut decals are a solid option when you want the graphic trimmed to its exact shape. They give logos and bold designs a clean, custom finish without a visible rectangular background. For individual handouts, fleet identifiers or branded vehicle graphics, they are a reliable all-rounder.
Bumper stickers are made for exposure. They are a natural fit for vehicles, trailers, toolboxes and any place that needs a hard-wearing message with a bit of staying power. If your design includes a website, phone number or service list, make sure the text remains readable from a sensible distance. Tiny type might look clever on screen, but it will not win you enquiries from the car behind.
Clear decals work well when you want the vehicle colour or glass to remain visible around the design. They can look polished, but artwork needs careful planning. Pale colours and fine details can disappear against changing backgrounds, particularly on windows. Strong contrast is your friend.
For short-lived campaigns, event vehicles or temporary team branding, a less permanent solution may be better. Being honest about the intended lifespan saves you from paying for more material than the job needs, or worse, choosing a short-term product for a long-term application.
Prep Is Not Optional
Most decal failures begin with a surface that looked clean but was not actually clean enough. Dust, wax, silicone spray, oil, polish residue and road film all get in the way of adhesive bonding.
Wash the application area first, then use an appropriate surface cleaner to remove residue. The panel needs to be fully dry before application. Avoid applying decals during rain, in heavy wind, or on a panel that is extremely hot from sitting in direct sun.
Temperature matters too. Vinyl becomes less cooperative in cold conditions and can become overly soft on a hot panel. A clean, dry, shaded workspace gives you the best chance of a smooth application. If the decal is large, highly detailed or wrapping around curves, professional installation is worth considering. One misplaced large graphic can become expensive rubbish very quickly.
Freshly painted vehicles need extra patience. Paint must be fully cured before decals are applied. Applying too soon can trap gases released during curing, which may lead to bubbling or adhesion issues. Your painter can confirm the proper curing window for the paint system used.
Placement Changes How Long It Lasts
Flat painted panels are the easiest and most reliable location for decals. Doors, rear quarters and smooth canopy sides usually give the adhesive a stable surface to grip.
Curves, panel gaps, deep recesses and sharp edges create more stress. Vinyl is more likely to lift where it has been stretched around a hard contour or finished right on an edge. A good installer will allow enough material and use the right technique to keep edges secure.
Areas directly behind wheels also cop the worst of the road. Stone chips, mud, water and grit can wear away at graphics placed low on doors, guards and trailers. That does not mean you cannot use those areas, but it does mean the decal may have a tougher life there than it would higher up on the vehicle.
Rear windows deserve a practical check as well. Do not block the driver’s view, cover safety features or place decals where they could interfere with wipers, demisters or cameras. A good-looking decal still has to let the vehicle do its job safely.
Keep Decals Looking Sharp After Application
Once applied, give the decal time to settle. Avoid washing the vehicle immediately, especially with a high-pressure washer. The adhesive needs time to build a proper bond with the surface.
For ongoing care, hand washing is gentler than aggressive automatic brushes. Use mild car-cleaning products and avoid harsh solvents around the graphic. When using a pressure washer, keep a sensible distance and do not blast directly at decal edges. That edge is where water pressure can start a lift.
If an edge begins to lift, do not ignore it and hope for the best. Dirt and water will work underneath, making a small issue larger. Deal with it early, particularly on business vehicles that spend every day out in public.
Parking under cover when possible also makes a difference. It will not eliminate UV exposure, but it reduces the constant heat and sunlight that gradually wears down every outdoor graphic.
Design for the Real World
Durable decals need durable design decisions. High-contrast colours, clear lettering and simple shapes remain legible after months of dust and weather. Fine lines, small text and low-contrast colour combinations have less room for error.
Think about the vehicle colour before finalising artwork. A black logo on a dark grey ute may technically be there, but it will not work hard for your brand. Similarly, a design with lots of white detail can need an added background or border to stand out on glass.
Sticker Ninja helps businesses get these details sorted before production, because a proof is the right time to spot a sizing, contrast or layout issue. Once the decal is on the vehicle, the road is already judging it.
Your vehicle is often the biggest moving billboard your business owns. Choose materials that suit its workload, apply them properly, and give them basic care. The result is branding that keeps showing up looking professional, job after job.