
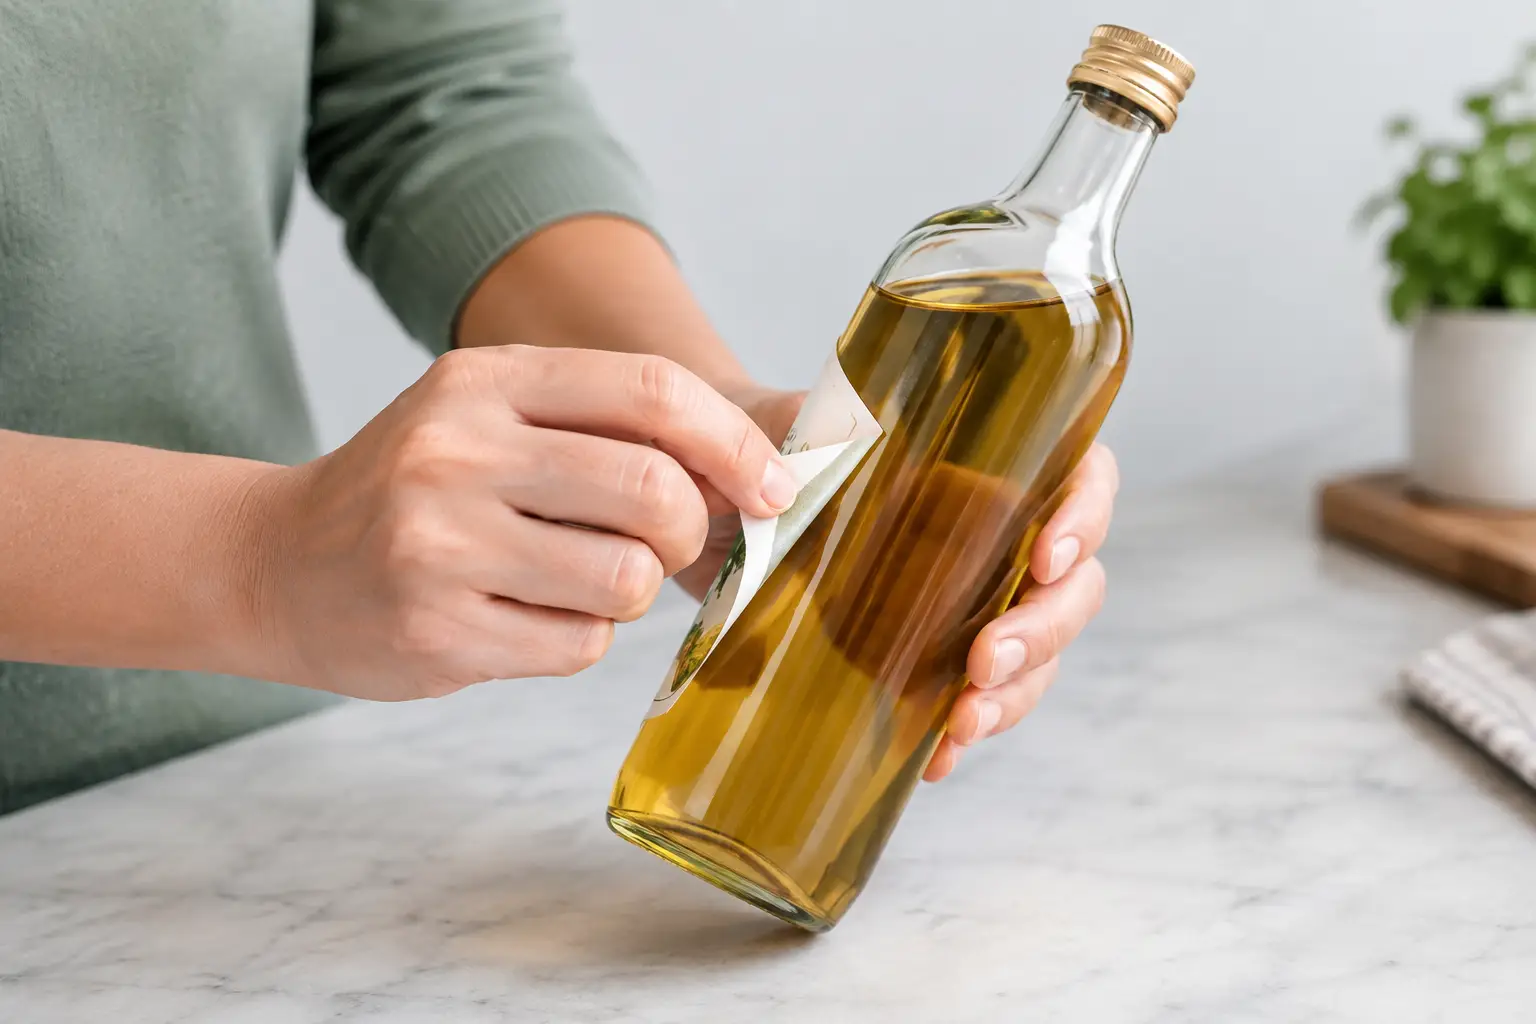
A bottle can look spot-on when it leaves the packing bench, then turn up in a customer’s fridge, gym bag or work ute with a label curling at the edge. Not ideal. If you are wondering why labels peel off bottles, the answer is rarely just “bad stickers”. It is usually a mismatch between the bottle surface, the adhesive, the environment and the way the label was applied.
For product brands, events and businesses using bottles for giveaways, retail or hospitality, a peeling label can make an otherwise quality product look cheap. The good news is that most label failures are preventable when the right material and application process are sorted from the start.
The bottle surface may be working against the label
Not all bottles are created equal. Glass is generally a friendly surface for labels because it is smooth, rigid and has relatively high surface energy. Put simply, adhesives can spread and grip well on it. But even glass can cause trouble when it is dusty, oily, wet or heavily textured.
Plastic is where things get more complicated. PET bottles are common and often label well, but plastics such as polypropylene and polyethylene can be harder for standard adhesives to grab. Their low surface energy means the adhesive may sit on the surface rather than properly bonding to it. That is why a label that performs beautifully on a glass juice bottle can lift off a plastic shampoo bottle.
Bottle shape matters too. A flat label applied across a strong curve is under constant tension. The corners are usually the first to lift, especially on narrow bottles, tapered containers and bottles with moulded ribs or textured panels. A larger label is not always better. Sometimes a smaller label with a smarter shape will stay put far longer.
Surface contamination is the quiet culprit
Bottles often pick up contaminants before labelling. Fingerprints, condensation, warehouse dust, oil from manufacturing, and residue from cleaning products can all reduce adhesion. The bottle might look clean to the eye but still have enough residue to interfere with the adhesive.
If bottles are being hand labelled, staff should handle them by the neck or base where possible. Wiping the label panel with a clean, lint-free cloth before application can make a genuine difference. For production runs, ensure the bottle supplier is providing containers suitable for labelling, not just containers that look the part.
Moisture and temperature make labels peel off bottles
A label needs time and the right conditions to form a proper bond. Applying labels to cold bottles straight from a cool room is a common mistake. Condensation can form quickly, and adhesive does not bond well to a damp surface. The result may look fine at first, then start lifting once the bottle is handled.
Temperature affects the adhesive itself as well. In a cold environment, many adhesives become firmer and less able to flow into the tiny imperfections of a surface. In very hot conditions, they can soften too much. This is especially relevant for bottled drinks, skincare products, sauces, cleaning products and anything that will travel through refrigerated storage or sit in a hot vehicle.
Fridge use adds another layer. Repeated moves from room temperature to a cold fridge and back again create condensation and expansion changes. The label material and bottle expand and contract differently, which puts stress on the bond. Ice buckets, eskies and wet hands can make that stress worse.
For bottles that will be chilled, wet or handled outdoors, choose a waterproof synthetic label material with an adhesive designed for the job. Paper labels have their place, particularly for dry indoor products with a premium, natural look. But they are not the tough option for a bottle that will sweat in a fridge or get splashed at an event.
The wrong label stock or adhesive causes early failure
A label is a system, not just a printed face. The material, adhesive, laminate and bottle all need to suit the end use. If one part is wrong, the whole thing can fail.
Paper labels are cost-effective and can look excellent on dry glass bottles, gift products and short-run launches. Their trade-off is moisture resistance. Once the paper absorbs water, it can wrinkle, soften and lift. A gloss or matte laminate can add protection, but it does not turn every paper label into a waterproof solution.
Vinyl and other synthetic label stocks are far better suited to damp, high-contact or outdoor conditions. They resist water and scuffing, and they flex more easily around curved containers. Clear labels can create a clean, no-label look on glass or smooth plastic, but they demand a pristine application surface. Trapped air, dust and fingerprints show up more clearly.
Adhesive choice is equally important. A general-purpose permanent adhesive is a strong all-rounder, but it is not automatically right for refrigerated bottles, low-energy plastics, oily surfaces or labels that need to remove cleanly. There is always a trade-off. A stronger adhesive can improve grip but may leave residue if the label is removed. A removable adhesive is handy for temporary promotions, but it is not built for long-term exposure to water and heavy handling.
Application technique matters more than people think
Even the best-made labels can fail when they are rushed onto bottles. Applying a label with a crease, trapped air or light edge contact gives moisture and handling an easy way in. Once a corner starts lifting, it rarely fixes itself.
Apply labels in a clean, dry area at a moderate temperature. Start from one side and press across the label with even pressure, working towards the other edge. Pay close attention to the first and last points of contact, as these are the pressure zones most likely to lift.
After application, give the adhesive time to build bond strength before chilling, packing or sending bottles into rough handling. Adhesives are not always at full strength the second the label touches the bottle. If you label a batch at 9 am and load it straight into an ice-filled esky at 9:15, you are asking a lot from the adhesive.
For higher volumes, a simple label applicator can improve consistency dramatically. It keeps placement straight, applies even pressure and reduces the handling that transfers skin oils onto the bottle. For a polished retail look, that consistency is worth it.
Design choices can create edge lift
Label design is not only about colour, logo size and legibility. The shape of the finished label affects durability. Sharp corners are more likely to catch on fingers, shelves, bag straps and packing materials. Rounded corners are a small adjustment that can help prevent edge lift on frequently handled bottles.
Avoid running a label across deep grooves, embossing or abrupt changes in the bottle profile. If the bottle has a narrow waist, a tapered shoulder or a seam, keep the label within the smoothest central panel. A label that is technically the right size can still fail if it is fighting the container shape.
Also think about what happens after the bottle leaves you. Is it going into a fridge? Carried to a festival? Tossed into a tradie’s lunch bag? Used in a bathroom with steam and splashes? The label should be specified for real life, not just the photo taken before dispatch.
A quick fault-finding check before you reorder
When labels have started peeling, inspect the pattern before blaming the print. If every label lifts in the same place, the bottle shape or application pressure is likely the issue. If only refrigerated stock fails, temperature and moisture are the obvious suspects. If labels release cleanly from plastic but stick firmly to glass, you may need an adhesive suited to that particular plastic.
Check whether the problem appears immediately or after a few days. Immediate lift often points to contamination, cold application or poor contact. Delayed failure is more likely to involve storage conditions, moisture exposure, bottle flex or an adhesive that is not suited to the job.
A small test run is the smart move before committing to a big production order. Label a sample batch, then expose it to the conditions customers will actually put it through: refrigeration, condensation, transport, rubbing and repeated handling. It is far cheaper to test ten bottles than to relabel a thousand.
At Sticker Ninja, the best label jobs start with a clear picture of the bottle, its material and where it will end up. A quick conversation before print can save plenty of frustration after delivery.
The right label should earn its place on the bottle. Give it a clean surface, a compatible adhesive, enough application pressure and a material built for the conditions ahead, and it will keep showing off your brand long after the bottle has left your hands.