
A sticker on a laptop has an easy life. A sticker on a ute, shop window, hard hat or takeaway cup has a much tougher job. Sun, rain, fingerprints, scuffs and daily handling can quickly take the shine off a great design. That is where the sticker lamination process earns its keep.
Lamination is the clear protective layer applied over a printed sticker. It can make colours last longer, protect the print from scratches and moisture, and give the finished piece the look your brand is aiming for. But it is not automatically the right call for every order. The best finish depends on where your stickers will go, how long they need to last and what you want people to notice first.
What happens in the sticker lamination process?
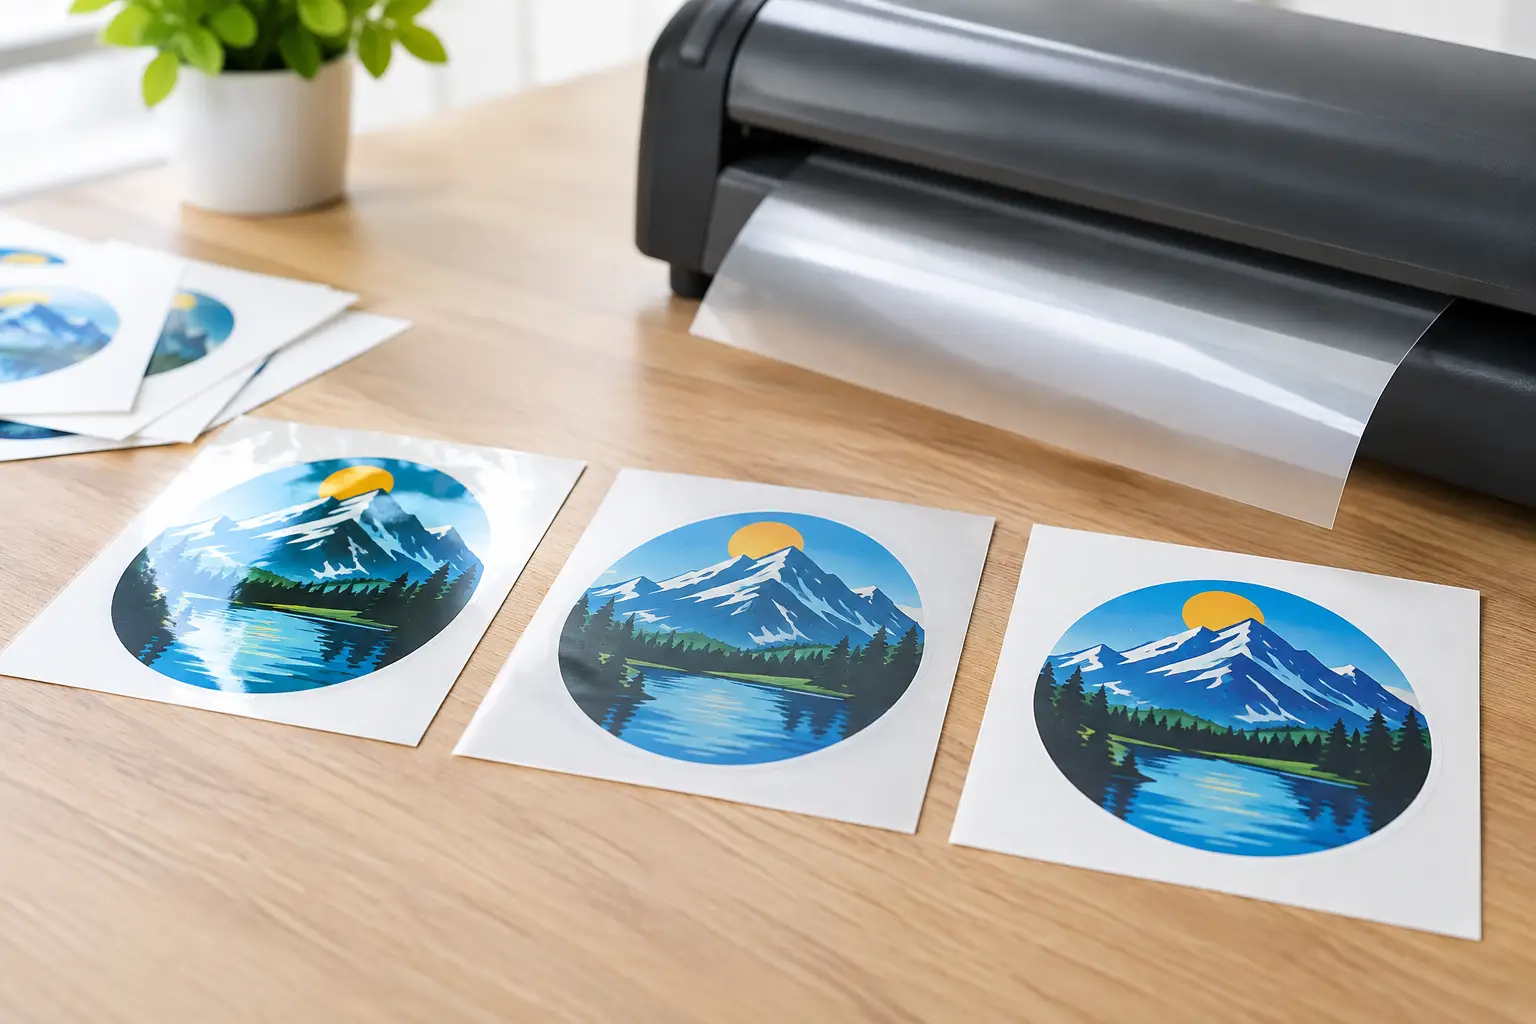
First, your artwork is printed onto the chosen sticker material. Once the print is ready, a clear film is applied across the printed surface using a laminating machine. The film is pressed down evenly, creating a protective top layer before the stickers are cut to shape.
The aim is simple: protect the ink without dulling the design or compromising the adhesive. A quality lamination job should sit flat, feel smooth and keep the sticker looking sharp, rather than adding bubbles, wrinkles or cloudy patches.
For custom die cut stickers, sticker sheets and bumper stickers, lamination is often a practical choice because these products are likely to be handled, moved around or used outdoors. For short-term labels or indoor promotional stickers, it may be more than you need.
What lamination protects against
A laminated sticker is better equipped to handle everyday punishment. The clear layer helps reduce fading from UV exposure, protects the print from minor scratches and makes it easier to wipe away dirt or splashes. It also gives the printed surface more resistance when stickers rub against bags, tools, drink bottles or other surfaces.
That does not mean lamination makes a sticker indestructible. Rough surfaces, harsh chemicals, constant abrasion and poor application can still shorten its life. Think of lamination as valuable armour, not a magic force field.
Gloss lamination: bright, bold and built to stand out
Gloss lamination adds a shiny finish that makes colours appear richer and more vibrant. It is a strong option for designs with punchy brand colours, photographs, illustrations and high-contrast artwork. If the goal is to get noticed from across a counter, car park or event space, gloss has plenty of visual firepower.
It is particularly well suited to promotional stickers, product stickers and outdoor decals where colour impact matters. A bright logo on a clean white background can look seriously crisp under gloss.
The trade-off is reflection. Under direct light, a glossy sticker can produce glare. That may not bother you on a water bottle or retail package, but it can be less ideal for stickers that need to be read easily through a shopfront window or viewed in bright sunlight. Gloss also tends to show fingerprints a little more readily than matte.
Matte lamination: smooth, premium and low glare
Matte lamination has a softer, non-reflective finish. It gives stickers a refined, modern look and is a favourite for brands that want something clean rather than flashy. Black designs, muted colour palettes, detailed text and premium product packaging often look excellent with matte.
Because it cuts glare, matte is a smart choice for stickers that will be viewed under lights, photographed regularly or applied to surfaces where readability matters. Think real estate packs, boutique product labels, event merchandise or branded packaging that customers will handle up close.
Matte can make colours appear a touch less vivid than gloss, especially with very bright artwork. That is not a flaw – it is simply a different finish. If your design relies on electric colour and maximum shine, gloss is usually the better fit. If you want understated confidence, matte gets the job done.
When unlaminated stickers make sense
Not every sticker needs a protective film. Unlaminated stickers are often a sensible, cost-effective option for short-term indoor use, packaging, giveaways and labels that will not face much wear.
For example, a stack of event stickers handed out on the day, a short-run candle label or a simple promotional seal for an indoor product may not need lamination. Skipping it can keep the finish more economical while still delivering a sharp printed result.
The key question is not, “Is lamination better?” It is, “What does this sticker need to survive?” If the answer is a weekend event indoors, you may not need it. If the answer is months on a tradie’s toolbox, a vehicle or an outdoor bin, protection is worth considering.
Choosing the right finish for the job
Start with the sticker’s destination. Outdoor stickers face UV, weather and grime, so laminated vinyl is often the sensible move. Stickers for cars, trailers, work gear and outdoor signage need materials and finishes that can cope with real Australian conditions, not just look good fresh out of the box.
Next, consider handling. Stickers applied to drink bottles, laptops, toolboxes and retail products are touched constantly. Lamination can help them stay presentable long after the initial excitement wears off.
Then look at the artwork itself. Gloss brings energy to colourful graphics and photos. Matte suits minimal designs, fine type and premium branding. Clear stickers need extra thought too: a finish can affect how light moves across the transparent areas, so it is worth checking that the final look supports the design rather than distracting from it.
Finally, be honest about the budget and lifespan. If you are ordering thousands of simple labels for a short promotion, the extra protection may not deliver enough value. If you are putting your logo on customer-facing gear, the added durability can be a very good investment.
Artwork choices that make lamination look better
Lamination protects good artwork, but it cannot rescue a file that is blurry, poorly sized or hard to read. Keep important text away from cut lines, use high-resolution graphics and make sure fine details will still be visible at the actual sticker size.
Colour choice matters too. A dark matte sticker can look premium, but tiny black text on a dark background will still be difficult to read. A glossy finish can make bright colours pop, but overly reflective designs may lose clarity in direct sun. The finish should support your message, not compete with it.
If you are unsure, a proofing conversation is worth having before production begins. It is much easier to adjust a finish, shape or artwork detail before the stickers are printed than after they have landed at your door.
Common lamination mistakes to avoid
The biggest mistake is choosing a finish based on appearance alone. A glossy sticker may look brilliant on screen, but if it is going on a sunlit shop window, glare could work against it. Likewise, choosing unlaminated paper-style labels for wet or high-contact use can lead to disappointed customers and a sticker that looks tired far too soon.
Another issue is applying a quality sticker to a poor surface. Dust, oil, moisture and textured materials can affect adhesion, regardless of the lamination. Clean and dry the application area, apply the sticker carefully, and give the adhesive time to settle.
It also pays not to confuse waterproof with permanently weatherproof. A laminated vinyl sticker is a far better choice for outdoor exposure than a basic indoor label, but every application has limits. A decal on a sheltered car window has a different life expectancy to one exposed to salt spray, harsh sun and constant washing.
Make the finish work as hard as your design
The right sticker finish does more than make your artwork look good on day one. It helps your logo travel further, stay cleaner and keep making the right impression wherever it ends up.
For Australian-made custom stickers that are sharp, durable and easy to order, Sticker Ninja can help match the material and finish to the job. Whether you need bold gloss for a promotion, smooth matte for a premium brand moment or straightforward indoor stickers for a fast event run, choose the option that gives your design a proper fighting chance once it leaves the packet.